
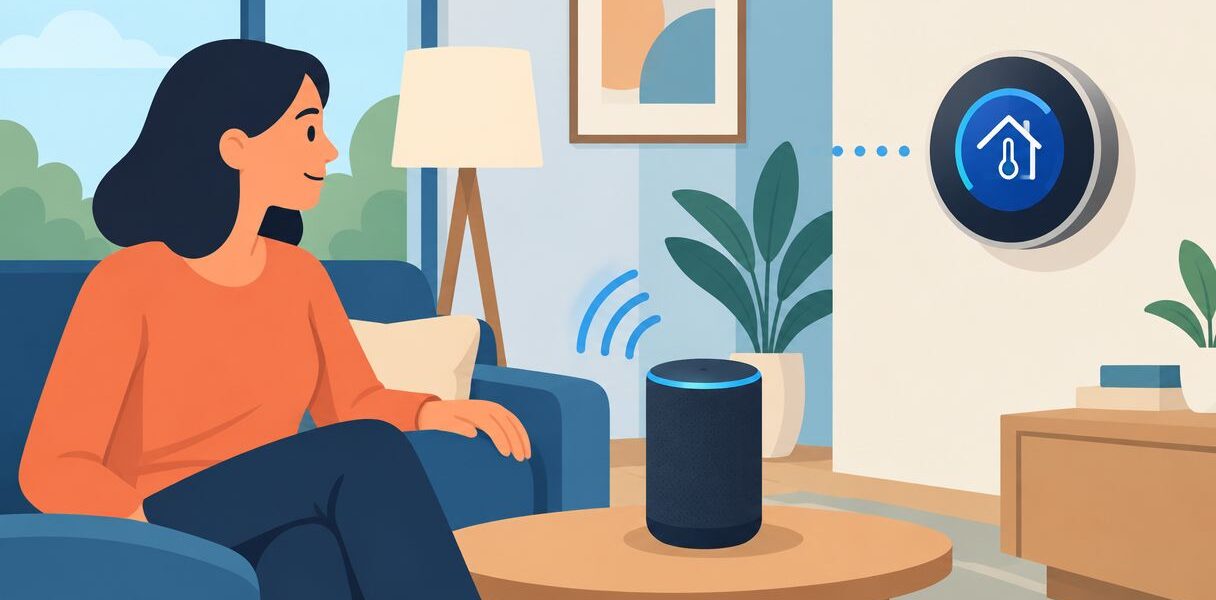
Instead of opening your thermostat app every time you want to change the temperature, connect your compatible smart thermostat to Amazon Alexa so you can adjust it by voice. This 2026 guide covers account linking, device discovery, voice commands, and a simple routine without changing your thermostat wiring.
- Connect your smart thermostat to Alexa through its supported integration, then discover the device and test a temperature command.
- Confirm Alexa compatibility for your exact thermostat model before linking accounts.
- Use Amazon Alexa voice commands for occasional adjustments; use routines for repeatable actions.
- A.R. Williams Air Conditioning helps homeowners with smart thermostat installation and AC problems, not Amazon account support.
Why this matters
Alexa adds another way to control your thermostat. It does not improve the AC's cooling capacity or correct an installation problem. A successful connection means Alexa changes the thermostat's setting, not that the house immediately reaches that temperature.
That distinction matters in humid coastal homes. A lower setting cannot fix poor airflow, and a voice command cannot tell you whether the equipment is properly sized. Keep the connection setup separate from any cooling diagnosis.
A.R. Williams Air Conditioning is best for homeowners who want smart thermostat installation options explained alongside their AC needs. If your thermostat is not installed or does not reliably control the system, start with smart thermostat installation for South Florida homes before adding voice control.
Before you start
You don't need to remove the thermostat from the wall to link an already working device. Have these items ready:
- A compatible, working thermostat: Confirm Amazon Alexa support for the exact model in the manufacturer's documentation. Make sure you can change its setting through the manufacturer's app first.
- The right accounts and access: Have the Alexa app, your Amazon sign-in, and the thermostat account that owns or manages the device. You also need working internet access and permission to authorize the integration.
- The account-linking gotcha: A thermostat shared with you in an app does not necessarily give your account permission to expose it to Alexa. Check ownership and household permissions before setup, especially if someone else originally installed it.
For a 2026 setup, follow the instructions for your exact thermostat model rather than an older guide for a similar-looking device. Some integrations use a manufacturer skill; others offer a supported connection flow through the thermostat app. Use the route the manufacturer specifies.
If the thermostat needs a Wi-Fi connection, check its network requirements. A model that requires 2.4 GHz Wi-Fi will not connect to a 5 GHz-only network. That is a thermostat networking issue, not an Alexa skill issue.
Thermostat account connection
The thermostat manufacturer's app is your first checkpoint. If it cannot control the thermostat, Alexa account linking is not the next fix.
- Open the manufacturer's app and select the thermostat you want Alexa to control.
- Check that the device is online and assigned to the correct home or property.
- Make one small setting change. For example, change the cooling target from 76°F to 77°F, then confirm the thermostat display reflects it. These are test values, not a recommended household schedule.
- Restore your original setting after the test.
- Confirm which Alexa integration the manufacturer lists for that exact model. Use the manufacturer's instructions to identify the correct skill or app-based connection.
Expected result: The manufacturer's app changes the thermostat's setting, and you know which account and integration to use.
If you manage more than one property, check the home assignment carefully. A thermostat at a seasonal residence can appear alongside the device at your primary home. Give each a distinct name before you connect them.
Don't change equipment configuration, wiring assignments, or installer settings during account setup. Those settings control how the thermostat operates your HVAC equipment. Linking Alexa does not require experimenting with them.
Alexa account linking and discovery
The following steps describe the manufacturer-skill route. If your model's instructions specify another connection method, follow that method instead. Alexa app menus in 2026 vary by app version and integration, so use the labels shown in your current app.
- Open the Alexa app and select More, then Skills & Games.
- Search for the exact skill named in the thermostat manufacturer's instructions. Check the publisher before selecting it; a matching keyword alone is not enough.
- Select Enable to Use when that button appears. Sign in with the thermostat account that controls the device, not automatically with your Amazon credentials.
- Review the requested permissions and authorize access to the intended home and thermostat.
- Complete the linking prompts. If Alexa offers device discovery, let that process finish.
- If the thermostat does not appear, open Devices, select +, then Add Device. Choose Thermostat and follow the instructions for the manufacturer.
- Open the discovered thermostat in Alexa and check whether its reported setting matches the manufacturer's app.
Expected result: Alexa lists the thermostat as a controllable device and shows a setting that agrees with the thermostat app.
A connection confirmation alone is not the finish line. An account can link successfully without exposing the intended thermostat, particularly when you have multiple homes or different account permissions.
If authorization opens a browser window, complete that process before returning to Alexa. Closing it at the sign-in screen leaves the accounts unlinked. Don't repeatedly enable different skills to compensate; first confirm that you chose the supported integration.
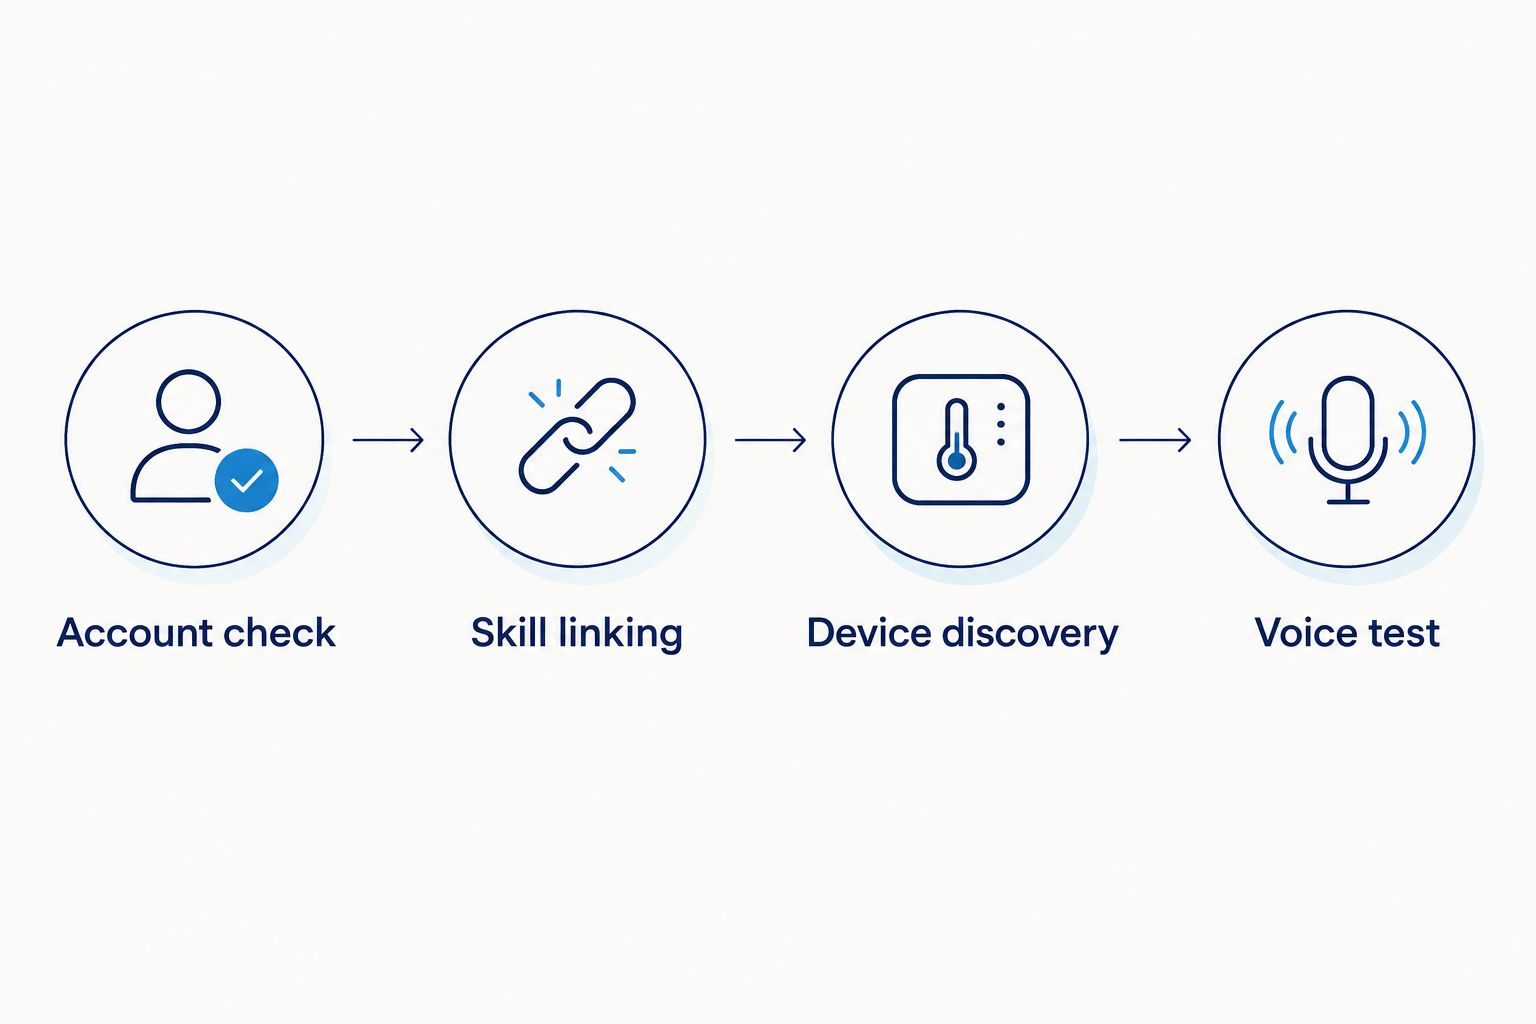
The connection follows this sequence: Account check, Skill linking, Device discovery, and Voice test. Verify each stage before moving to the next.
Device naming and voice testing
A clear device name makes commands easier to understand. Use a short, distinct name such as Downstairs Thermostat, and avoid giving a light or another device the same name.
- Open Devices in the Alexa app and select the thermostat. Use its settings to check or edit the name; the exact edit control varies by device integration.
- Confirm the temperature units match your preference. A number without units can be confusing if one app uses Celsius and another uses Fahrenheit.
- Say a specific command, such as "Alexa, set Downstairs Thermostat to 77 degrees."
- Check the thermostat display or manufacturer's app. Verify the target temperature changed, rather than relying only on Alexa's spoken response.
- Ask for the current temperature, if the integration supports temperature reporting. Distinguish the measured room temperature from the target you just set.
- Restore your preferred setting when the test is complete.
Expected result: Alexa addresses the intended thermostat, and the requested setting appears on the actual device.
Test temperature control before adding automation. If a basic command fails, a routine built around that same device adds another place to troubleshoot.
Supported commands vary. Temperature adjustment, room-temperature reporting, mode changes, and fan control are separate capabilities. Don't assume Alexa can change every setting simply because it can adjust the cooling target.
Use explicit device names when you have multiple thermostats. A command such as "make it cooler" gives you less control over the intended device than naming the thermostat and setting a temperature.
A second workflow: a voice-triggered routine
Once direct commands work, an Alexa routine can combine a chosen phrase with a thermostat action. For example, a phrase such as "Alexa, evening comfort" can apply your selected temperature if the integration exposes that action to routines.
For a 2026 household setup, start with a voice trigger rather than a complex presence-based schedule. You can choose when it runs and check the result before adding other actions.
- Open More, then Routines, and select + to create a routine.
- In the event section, choose Voice and enter a phrase that is different from an ordinary thermostat command.
- In the action section, choose Smart Home and select the thermostat, if it appears as an available action device.
- Choose the supported temperature action and enter your preferred target. A test action of 78°F is an example, not a humidity-control recommendation.
- Select Save, then say the trigger phrase to an Alexa device signed into the intended Amazon account.
- Check the thermostat's target temperature. Restore your normal setting if the routine was only a test.
Expected result: Your chosen phrase runs the routine and applies the thermostat action you selected.
If the thermostat does not appear among routine actions, check the integration's documented capabilities. Voice control and routine support are not interchangeable. Don't treat the absence of an action as proof that your thermostat is defective.
Which control method fits your home?
| Control method | Best for | Benefit | Limitation |
|---|---|---|---|
| Amazon Alexa direct commands | Occasional temperature adjustments | You can request a specific setting without opening an app | Alexa must understand the device name, and the integration must be online |
| Amazon Alexa voice-triggered routines | Repeating a preferred action with one phrase | You can reuse a chosen thermostat action | Only actions exposed by the integration are available |
| Thermostat manufacturer's app | Checking settings and diagnosing connection issues | It provides a direct checkpoint before testing Alexa | You still need to open the app, and remote access depends on its connection |
Use direct commands for the first test and routines only after that test succeeds. Keep your main thermostat schedule in one place unless you deliberately want another automation to override it.
Troubleshooting
The skill links, but no thermostat appears
Check the thermostat account used during authorization. It must have access to the intended device and home. Confirm that the thermostat is online in its own app, then repeat discovery through Devices and Add Device.
If you linked the wrong account, unlink that integration and reconnect with the correct account. Don't factory-reset a working thermostat to correct an account mismatch.
Alexa says the thermostat is unresponsive
Try a setting change in the manufacturer's app. If that also fails, investigate the thermostat's internet connection or the manufacturer's service before changing Alexa settings.
If the manufacturer's app works but Alexa does not, check the skill's account connection and authorize it again if necessary. Preserve the thermostat's existing equipment setup while troubleshooting.
Alexa controls the wrong thermostat
Inspect device names, home assignments, and duplicate entries in Alexa. Rename overlapping devices so each command identifies one thermostat clearly.
Remove an obsolete Alexa device entry only after confirming which entry controls the working thermostat. Test the full device name again before using a routine.
The setting changes back after your command
Check the thermostat's schedule, temporary hold behavior, and any active Alexa routines. Another scheduled action can replace the target you just selected.
Use the manufacturer's documented hold controls if you want an adjustment to remain in effect. Don't disable every schedule at once; identify the action responsible for the change.
Alexa changes the setting, but the house stays warm
A changed target confirms the command arrived. It does not confirm that the AC is cooling correctly. Equipment protection delays can also prevent an immediate restart, so avoid sending repeated on-and-off commands.
If the system continues running without cooling, separate the HVAC problem from the Alexa connection. Follow the guide to an AC that's running but not cooling rather than repeatedly lowering the target.
Customize your workflow
Add only the controls your household will actually use. A distinct thermostat name and one working voice command are more useful than several overlapping routines.
For a seasonal home, test remote access before you leave. Confirm that the thermostat remains reachable through its manufacturer's app and keep track of which account owns it. Alexa should be an additional control method, not your only way to check the house.
Humidity deserves separate attention. Voice integration does not add humidity sensing or dehumidification equipment. It also does not correct an oversized AC or an airflow problem. If the house feels damp despite reaching its temperature target, investigate that symptom rather than creating progressively colder routines.
A.R. Williams Air Conditioning explains thermostat installation and AC options for homeowners who need help with the equipment side. Account passwords and Amazon authorization stay with you; HVAC configuration belongs with a technician when the system needs assessment.
FAQ
Can I connect any smart thermostat to Alexa?
No. Your exact thermostat model needs a supported Amazon Alexa integration. Check the manufacturer’s compatibility information before enabling a skill or starting account linking.
Do I need an Echo to connect my thermostat to Alexa?
You need an Amazon account and the Alexa app to manage the connection. An Echo is one way to issue voice commands, but the setup and the voice-input device are separate parts of the process.
Why can Alexa see my thermostat but not change it?
Device discovery does not guarantee that the thermostat is reachable or that the requested action is supported. Test control in the manufacturer’s app, then check the Alexa integration and account permissions.
Can Alexa control two thermostats in the same house?
Yes, when both thermostats have supported integrations and are exposed to your Alexa account. Give each thermostat a distinct name and test a command for each device separately.
Will connecting Alexa erase my thermostat schedule?
Account linking is not a factory reset and normally leaves the thermostat schedule in place. Later voice commands or routines can override a target according to the thermostat’s hold and scheduling behavior.
Can Alexa lower the humidity in my home?
Connecting Alexa does not add humidity-control capability to your HVAC system. Any humidity-related control depends on the thermostat, installed equipment, and functions supported by the integration.
Should I reset my thermostat if Alexa cannot find it?
Do not factory-reset a working thermostat as the first troubleshooting step. Confirm the supported integration, account ownership, internet connection, and device discovery before considering manufacturer-directed reset procedures.
One last thing
Alexa can report success while your thermostat's schedule later replaces the requested setting. After your first command, check both the displayed target and whether the thermostat treats that change as a temporary hold.
When reviewing your 2026 smart-home setup, make that behavior clear to everyone who uses voice control. It prevents a successful connection from looking like a fault later. If the thermostat itself does not control your central AC reliably, talk with a technician at A.R. Williams Air Conditioning before adding more automation.
Related guides
- Smart-home integrations for Florida AC systems
- Thermostats for South Florida humidity control
- Reduce indoor humidity without overworking your AC
