
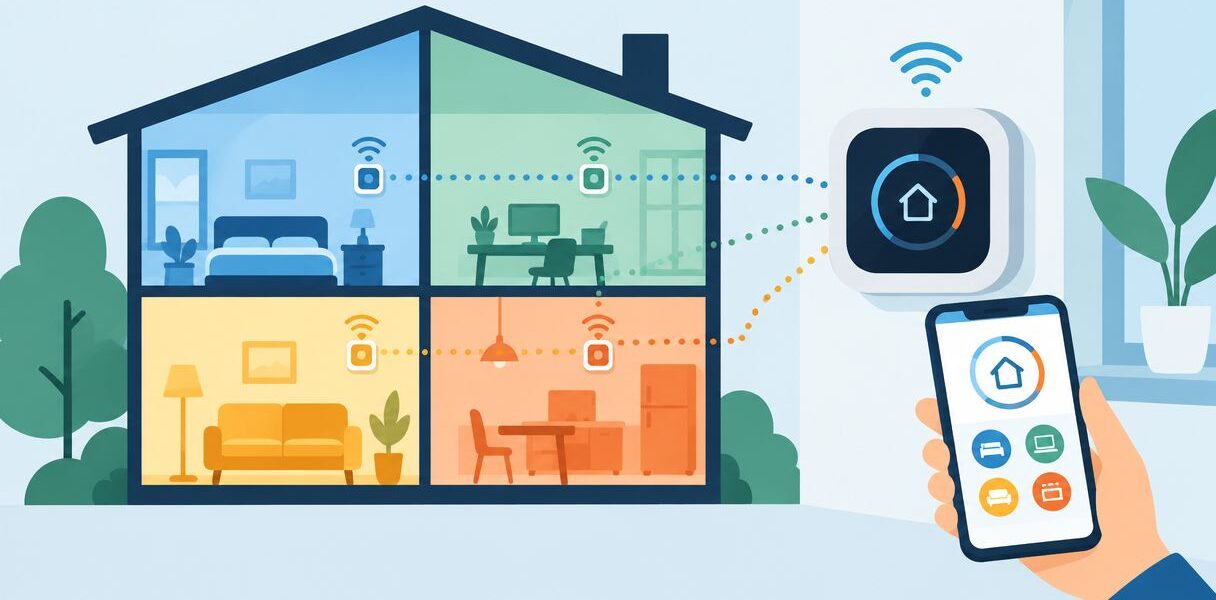
Instead of manually changing room temperatures throughout the day, connect compatible smart thermostats to your zoning control panel so each ducted zone follows its own schedule. The safe setup in 2026 starts with matching the controls, then having a technician verify wiring, damper operation, and airflow before you rely on the app.
- To connect zoning system to smart thermostat controls, verify panel compatibility before replacing any thermostat.
- A.R. Williams Air Conditioning offers smart thermostat installation for homeowners who want their options explained.
- The zone panel controls duct dampers; a thermostat app does not replace that panel.
- Remote temperature sensors do not create independently controlled zones without compatible zoning hardware.
A.R. Williams Air Conditioning is a fit for homeowners who want smart thermostat installation explained before work starts. Start with smart thermostat installation for South Florida homes if you're unsure what your existing controls support.
Why this matters
A smart thermostat tells your cooling system when a space needs cooling. A zoning panel coordinates those requests and operates dampers, the movable gates inside your ducts that direct air to different areas. Connecting the thermostat to the wrong part of that system can leave you with an app that works while room temperatures do not.
In a two-story home, upstairs bedrooms and downstairs living areas often need cooling at different times. Zoning addresses that difference only when the equipment and ducts can handle the airflow required by each zone. Replacing thermostats alone does not fix an undersized return or a stuck damper.
South Florida humidity adds another concern. An aggressive away schedule can leave an unused part of the house warm and damp, especially in a seasonal home. The goal is reliable room control without sacrificing airflow or moisture control.
Before you start
Gather these items before arranging installation or changing app settings:
- Equipment information: Record the model numbers for the existing thermostats, zoning panel, indoor unit, and outdoor unit. Gather the installation manuals and photograph any visible terminal labels without opening electrical compartments.
- App access: Have the thermostat account credentials, home Wi-Fi details, and permission to add devices. Check the manufacturer's current network requirements rather than assuming every thermostat supports your router settings.
- Compatibility confirmation: Ask a technician to identify conventional versus communicating controls and verify thermostat power. The hidden gotcha is that a thermostat can match the AC equipment but still be incompatible with the zone panel.
For a 2026 thermostat upgrade, use documentation for the exact model being installed. A similar-looking thermostat or an older manual is not enough to establish compatibility.
Conventional thermostat circuits commonly use 24 volts AC, but the equipment feeding those circuits also contains hazardous electrical power. Turning the thermostat off does not isolate that power. Leave terminal changes, voltage checks, and electrical testing to a qualified HVAC technician.
Control compatibility
Identify the control arrangement
- Find the zone panel's model number in your existing paperwork or have your technician identify it. Record which thermostat serves each area of the house.
- Ask the technician to confirm whether the panel accepts conventional thermostat signals or requires a manufacturer-specific communicating control. Communicating controls exchange system information rather than relying only on separate heating and cooling calls.
- Check the proposed thermostat against both the panel manual and the equipment requirements. Confirm support for the heating type, cooling stages, and any separate humidity equipment.
- Choose the control arrangement before ordering replacement thermostats. Don't assume a manufacturer's app makes every thermostat from that manufacturer interchangeable.
Expected result: You have a confirmed thermostat model and a clear explanation of how it works with your existing panel.
These arrangements solve different problems. None is a universal replacement for the others.
| Control arrangement | Best for | Advantage | Limitation |
|---|---|---|---|
| Compatible conventional smart thermostats | Existing panels that accept conventional thermostat inputs | Adds app access and scheduling without replacing a compatible panel | Power requirements and supported functions still need checking |
| Manufacturer-compatible communicating controls | Systems designed around a communicating control network | Preserves the supported equipment-control functions | A generic thermostat is not automatically compatible |
| Thermostat with remote room sensors | Selecting or averaging temperature readings within a supported setup | Lets the thermostat use a reading away from its wall location | Sensors alone cannot open and close duct dampers |
If your home doesn't already have zoning hardware, review zoning systems for large South Florida homes. Adding a zoning system involves duct and equipment decisions, not just a thermostat connection.
Panel connection and thermostat power
Arrange the physical installation
- Have the technician isolate the relevant equipment power before inspecting or changing wiring. The panel and indoor equipment can have separate power sources.
- Ask the technician to document the original connections. Wire color is not proof of function; the existing terminal assignment and wiring diagram determine what each conductor does.
- Have each thermostat connected to its assigned thermostat input on the zoning panel, following the exact panel and thermostat diagrams. Don't connect a replacement thermostat directly to the AC equipment to bypass the zoning panel.
- Confirm the thermostat's power arrangement. Where a thermostat requires a C terminal connection, the technician must verify the correct common connection and available power. Use a power accessory only if the thermostat and panel manufacturers support that arrangement.
- Have the technician check the panel's equipment settings and damper connections before restoring power. The thermostat's display turning on is only the first check.
Expected result: Every thermostat powers up and sends requests through the correct zone-panel input, with the panel still responsible for equipment and damper operation.
A conventional two-zone example uses 2 zones with 1 thermostat per zone when the panel requires a separate thermostat input for each zone. That is an example, not a rule for every system. Some communicating arrangements use a central control with supported zone devices instead.
Ask for a written zone-to-room map. A label such as upstairs bedrooms is more useful to you than an unexplained terminal number, and it helps prevent confusion during later service.
Thermostat and app configuration
Configure each zone separately
- Follow the thermostat's installation prompts with the technician. Confirm the equipment type and control functions against the approved wiring diagram. Don't select extra heating or cooling stages simply because the setup screen offers them.
- Add each thermostat to its manufacturer's app using the supplied pairing instructions. Button names and menu paths differ by model, so use the labels shown on your device rather than instructions for another thermostat.
- Name each device after the area it controls, such as upstairs bedrooms or downstairs living area. Confirm that the app name matches the physical thermostat and panel assignment.
- Establish a simple schedule for each zone. Keep the initial settings close to your household's usual routine so you can judge the installation without several new automations affecting it.
- Review fan operation and supported humidity settings with the technician. Continuous fan operation can reintroduce moisture from a wet cooling coil after a cooling cycle, so don't enable it automatically for humidity control.
Expected result: The app shows the correct zones, and a change to one thermostat reaches that thermostat rather than another area of the house.
For your 2026 setup, leave advanced occupancy routines off until basic zone operation has been tested. An app connection proves communication with the thermostat. It does not prove that the correct damper moves or that the cooling equipment responds properly.
Zone testing and airflow
Verify the whole system
- Test each zone: Have the technician create a cooling request from each thermostat separately. Confirm that the panel recognizes the correct request and that the intended area receives airflow.
- Test shared demand: Have the technician request cooling from all zones together. Confirm that the panel coordinates the equipment without unexpected interruptions or control conflicts.
- Check airflow: Ask the technician to evaluate operation when only the smallest zone needs cooling. The equipment still needs adequate airflow even when other dampers close.
- Confirm shutdown: Have the technician verify what happens when requests end, including any panel-controlled delay or purge cycle. Don't assume continuing fan operation means the thermostat is defective.
- Repeat a normal temperature change from the app. Verify the thermostat display, panel response, and room assignment before considering the installation complete.
Expected result: Each zone works alone and with the other zones, without new whistling, unusually weak airflow, or unexplained equipment cycling.
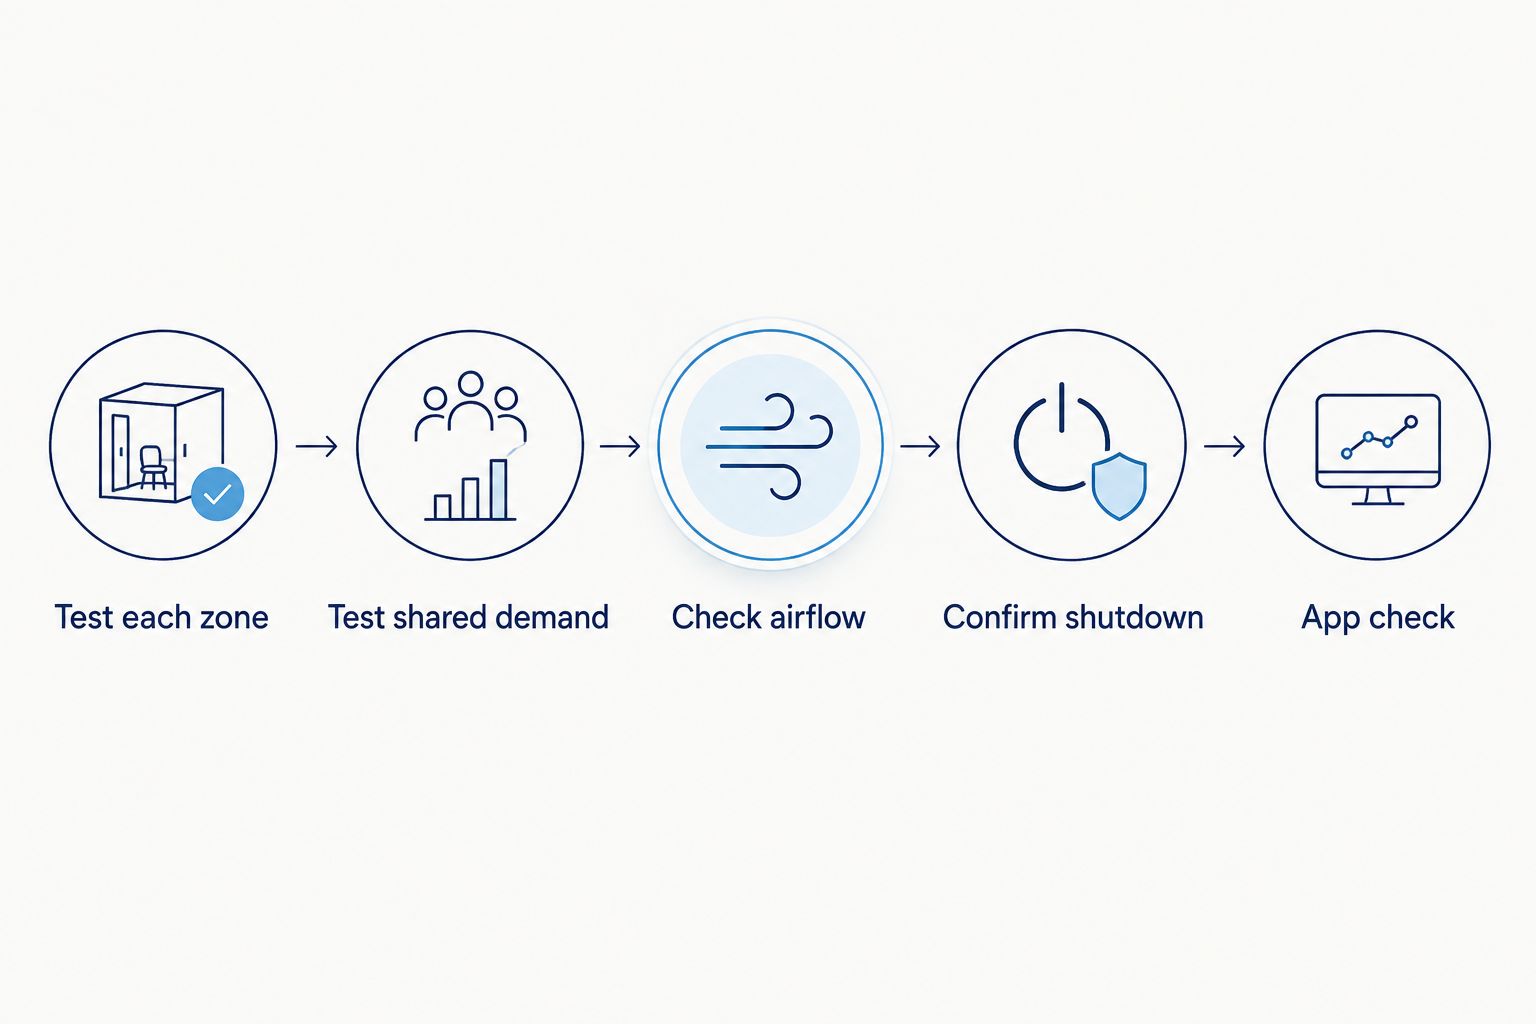
Include these checks in the 2026 installation handover. Ask the technician to explain how the system handles limited airflow; adding a bypass duct is not an automatic solution for every equipment design.
Don't shut supply registers to imitate zoning. That adds another restriction the panel does not necessarily account for, and it makes airflow testing less useful.
A second workflow: change schedules when occupancy changes
Once physical zoning works, you can use supported thermostat features to change schedules when your household routine changes. This is an adjacent workflow, not a substitute for panel configuration.
- Decide which zones actually need an occupancy-based schedule. An upstairs sleeping area might follow a fixed bedtime routine while a downstairs living area follows household activity.
- Select one supported scheduling method for each zone. Avoid overlapping app routines that repeatedly overwrite each other's temperature settings.
- Review who shares occupancy information with the app. One person's departure should not change comfort settings for someone who remains home.
- Make an app adjustment while another zone continues its normal schedule. Confirm that only the intended thermostat changes.
- Check room comfort and indoor humidity before extending the schedule to long absences.
Expected result: Occupancy changes affect the intended zone without unexpectedly changing the rest of the house.
For a seasonal home, remote access helps you see what the thermostat reports, but it doesn't verify every room's condition. Before leaving for an extended period, have the cooling system and drain checked and arrange a way to investigate unexpected readings.
Troubleshooting
The thermostat stays blank or restarts
Stop repeating the setup process. Have a technician verify the thermostat's power supply, common connection, panel compatibility, and any approved power accessory. A thermostat that restarts during a cooling request needs a power check, not another app account.
The app changes the wrong area
Compare app names with the physical thermostats first. If the thermostat assignment is correct but a different area's airflow changes, have the technician trace panel inputs and damper wiring. Renaming the app devices won't fix crossed connections.
A sensor changes the reading but not the airflow
A remote sensor measures temperature; it isn't a duct damper. Confirm whether the thermostat uses that sensor as its active reading or as part of an average. Independent airflow control requires compatible zoning hardware and an assigned control path.
Airflow becomes noisy when one zone cools
Have the technician check duct pressure, damper operation, and the equipment's airflow requirements. Don't close more vents or alter panel settings yourself. Noise after a zoning change can point to an airflow restriction that needs physical correction.
Cooling works, but rooms feel damp
Review setbacks, fan settings, and thermostat placement with a technician. Also check for restricted airflow or a cooling-system fault rather than assuming the app caused the problem. A new thermostat cannot correct every cause of excess indoor humidity.
Customize your workflow
Start with reliable zone control, then add convenience features. Once each thermostat has passed physical testing, you can refine schedules and enable supported notifications. Keep a record of the settings so later changes are easy to trace.
A.R. Williams Air Conditioning provides smart thermostat installation for homeowners who want the findings and options explained. The benefit is a technician-led compatibility check; the limitation is that a thermostat upgrade alone cannot repair unsuitable ducts or incompatible controls.
Ask for the proposed scope before authorizing work. It should distinguish thermostat replacement from any panel, wiring, or airflow work the existing system needs.
Talk with a technician
Check thermostat compatibility and understand what your existing zoning system needs.
FAQ
Can I connect any smart thermostat to my zoning system?
No. The thermostat must support the zoning panel’s control method, power requirements, and connected equipment. Confirm compatibility using the exact thermostat and panel model numbers before installation.
Do I need a smart thermostat for every zone?
You need the controls specified by your zoning system. Conventional panels commonly use a separate thermostat for each zone, while communicating systems can use a different arrangement. Check the panel documentation rather than assuming every zone needs the same device.
Will remote sensors turn my AC into a zoned system?
No. Remote sensors provide temperature readings, but they do not independently direct air through ducts. Separate airflow control requires compatible dampers and zoning controls.
Can I reuse the wires from my old thermostat?
Existing wires can be reused only when their condition, conductor count, and connections meet the new thermostat’s requirements. Have a technician verify terminal functions rather than relying on wire colors.
Why does my smart thermostat need a C wire?
A C wire provides the common side of the low-voltage power circuit for thermostats that require it. The correct connection must come from the appropriate control circuit. A spare wire is not a working common connection until it is properly connected and verified.
Why does my AC keep running after one zone reaches its setting?
Another zone can still be requesting cooling, or the panel can be completing a supported delay or purge cycle. Check the other thermostats and the panel’s documented sequence before treating continued operation as a fault.
Should I change my zone schedules for a long trip in 2026?
Review zone schedules and humidity control before a long trip in 2026. Large setbacks can leave unused rooms warm and damp. Confirm suitable settings for your home and keep a way to investigate unusual temperature or humidity readings.
One last thing
A thermostat showing the right temperature doesn't prove that its zone is receiving the right airflow. Ask to see each zone operate on its own before the installation is signed off. That simple handover check catches room-assignment problems that are easy to miss on an app screen.
Related guides
- How to keep upstairs bedrooms cool in a two-story home
- Return air vent sizing for South Florida HVAC systems
- How to reduce indoor humidity without overworking your AC
