
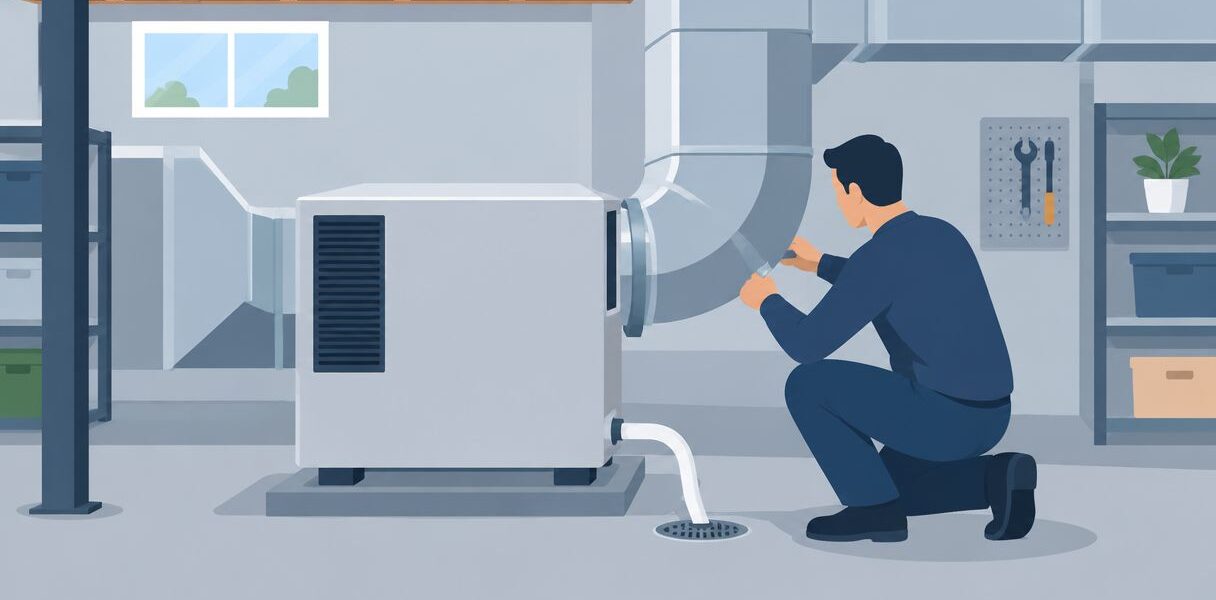
Instead of emptying portable dehumidifier tanks or lowering the thermostat to fight dampness, connect a whole-home dehumidifier to your ductwork through a manufacturer-approved air path, drain, and control setup. Have an HVAC professional make the connections and test airflow so the equipment removes moisture without disrupting your central AC.
- To connect whole home dehumidifier to ductwork, use the equipment manufacturer’s approved layout, not a generic duct diagram.
- A.R. Williams Air Conditioning is a fit for South Florida homeowners seeking an AC and humidity assessment.
- Whole-home humidity control needs a working drain, adequate airflow, and controls that coordinate with your central AC.
- EPA guidance recommends 30% to 50% indoor relative humidity; adding equipment does not fix water intrusion.
Why this matters
Your home can reach the thermostat setting and still feel damp. Cooling responds to temperature, while a dehumidifier responds to moisture. During rainy weather or mild periods with little cooling demand, those needs don't always line up.
A good duct connection gives the dehumidifier access to indoor air and distributes treated air through the home. A poor connection can recirculate air around the equipment, restrict airflow, or let the AC blower push air backward through the dehumidifier.
For your 2026 project, start with the installation requirements rather than choosing a convenient spot in the attic. This guide to whole-home dehumidifier installation for Florida homes covers the broader project.
A.R. Williams Air Conditioning is a fit for South Florida homeowners who want their AC performance checked before choosing a humidity-control solution. The company provides residential AC repair, installation, and maintenance, with technicians who explain their findings and options.
Before you start
- Equipment information: Have the exact dehumidifier model, installation manual, air-handler information, and control documentation available. Duct sizes, allowed connections, clearances, and wiring requirements come from those documents.
- Installation access: Arrange qualified HVAC installation and any required electrical work. The installer needs access to the ducts, a suitable equipment location, an approved condensate drain route, and the local permit requirements.
- The gotcha: A connection that works while the AC blower is off can fail when it runs. Confirm the permitted duct layout and blower coordination before cutting openings or selecting dampers.
This is a planning and verification guide for homeowners, not instructions for opening electrical cabinets or modifying ducts yourself. Cutting into a duct changes the air path for the entire system. Attic work also brings fall, heat, and electrical hazards.
Before buying equipment in 2026, ask the installer to distinguish moisture from the building itself from moisture the AC isn't removing. A roof leak, outdoor-air leak, or damaged return duct needs its own repair. A dehumidifier does not correct those defects.
Air-path design
Choose a supported connection
- Identify the existing air path. Ask the installer to mark the return duct, which carries room air toward the AC, and the supply duct, which carries conditioned air back to rooms. Identify the cooling coil's location as well.
- Match the layout to the manual. Select a connection the dehumidifier manufacturer expressly permits. Don't assume that any return or supply connection is interchangeable.
- Check airflow and pressure. Have the installer evaluate duct capacity and resistance with the AC blower both running and stopped. Static pressure means the resistance the fan must overcome to move air.
- Plan service access. Leave the required space to remove filters, inspect the drain, and service the equipment without dismantling surrounding ductwork.
Expected result: You have a documented air path, a supported connection arrangement, and an accessible equipment location before installation begins.
Two layouts worth discussing are below. Neither is a universal recommendation; the selected model and existing HVAC system determine whether each is suitable.
| Connection layout | Best for | Advantage | Limitation |
|---|---|---|---|
| Dedicated return with discharge into the AC supply | Homes where the manufacturer permits shared supply distribution | Uses existing supply ducts to distribute treated air | AC supply pressure and blower operation must be accounted for |
| Dedicated return and dedicated supply | Homes with space for separate dehumidifier duct routes | Keeps the dehumidifier air path separate from the central AC | Requires additional ducts and careful grille placement |
A dedicated return is an intake specifically for the dehumidifier. A dedicated supply is its own discharge route into the living space. Those openings need placement that moves air through the home rather than immediately pulling treated air back into the intake.
Some manufacturers support other arrangements involving existing returns. Ask for the applicable diagram and its control requirements instead of accepting a verbal assurance that the layout works.
Duct and drain installation
Establish the physical connections
- Position the equipment. Have the installer secure and orient the dehumidifier according to its manual. Confirm the location permits filter removal and drain service.
- Install the approved duct branches. Use the specified duct dimensions and connection locations. Keep flexible ducts supported and avoid crushed sections or sharp bends that restrict airflow.
- Seal and insulate the connections. Use materials approved for the duct system. Restore insulation and its outer moisture barrier wherever the work exposes cold duct surfaces.
- Fit any required dampers. A damper controls airflow through a duct. Install backdraft or motorized dampers only where the equipment design calls for them, with their direction and controls verified.
- Complete the drain route. Follow the manual and local requirements for slope, traps, pumps, and discharge location. Provide overflow protection where required, especially where leakage can damage ceilings.
Expected result: The dehumidifier has a sealed, supported air path and a serviceable drain. Its installation does not leave exposed cold surfaces or inaccessible maintenance points.
Older houses sometimes have return ducts that already struggle to carry enough air. Adding a branch doesn't solve that restriction. Your installer should evaluate the existing return instead of treating the dehumidifier connection as an isolated job.
In a humid attic, damaged duct insulation can let moisture collect on a cold surface. Water on the outside of a duct and water leaking from a drain are different problems. Ask the installer to identify which one is present before recommending a fix.
Humidity controls
Coordinate moisture removal with the AC
- Choose the control location. Place a separate humidity sensor where it measures representative indoor air, following its instructions. Avoid locations affected by a bathroom, kitchen moisture, direct discharge air, or exterior-door drafts.
- Confirm control compatibility. Have the installer verify that the chosen thermostat or humidity controller supports the equipment's required connections. A thermostat that displays humidity does not automatically control a dehumidifier.
- Set the blower sequence. Configure whether the AC blower must operate during a humidity call. That decision comes from the approved duct arrangement and equipment instructions.
- Select the humidity target. For a 2026 setup, EPA home-moisture guidance recommends indoor relative humidity between 30% and 50% when possible, and below 60%. These are moisture-control guidelines, not a substitute for the equipment's operating instructions.
- Explain normal operation. Ask the installer to show you how to adjust the humidity target and recognize a service alert using your actual controller.
Expected result: A humidity call starts the correct equipment, with the blower and any controlled dampers operating as designed.
Don't copy terminal letters or menu instructions from another model's installation video. Similar-looking controllers can require different wiring or setup. The correct settings are the ones documented for your equipment combination.
Dehumidifiers discharge warmer air because moisture removal releases heat and the equipment uses electricity. That is a trade-off, not evidence of a faulty installation by itself. Your installer should explain how that added heat interacts with the AC.
Startup verification
Test the complete system
- Test a humidity call without cooling. Ask the installer to demonstrate the dehumidifier's intended operation when the thermostat is not requesting AC. Confirm air reaches the intended rooms.
- Test cooling operation. Run the AC and verify the supported interaction with the dehumidifier. Check for reverse airflow, unexpected damper behavior, or a loss of room airflow.
- Verify drainage. Have the installer check the drain and any pump or overflow protection using the manufacturer's test procedure. Don't accept an untested drain because the tubing looks connected.
- Record the setup. Keep the equipment model, selected duct diagram, control settings, and measured airflow or pressure checks with your installation paperwork.
- Arrange follow-up observation. Compare humidity in representative rooms under normal use. Document persistent differences rather than repeatedly changing the target.
Expected result: Both cooling and moisture-removal operation have been checked, and you know what normal behavior looks like.
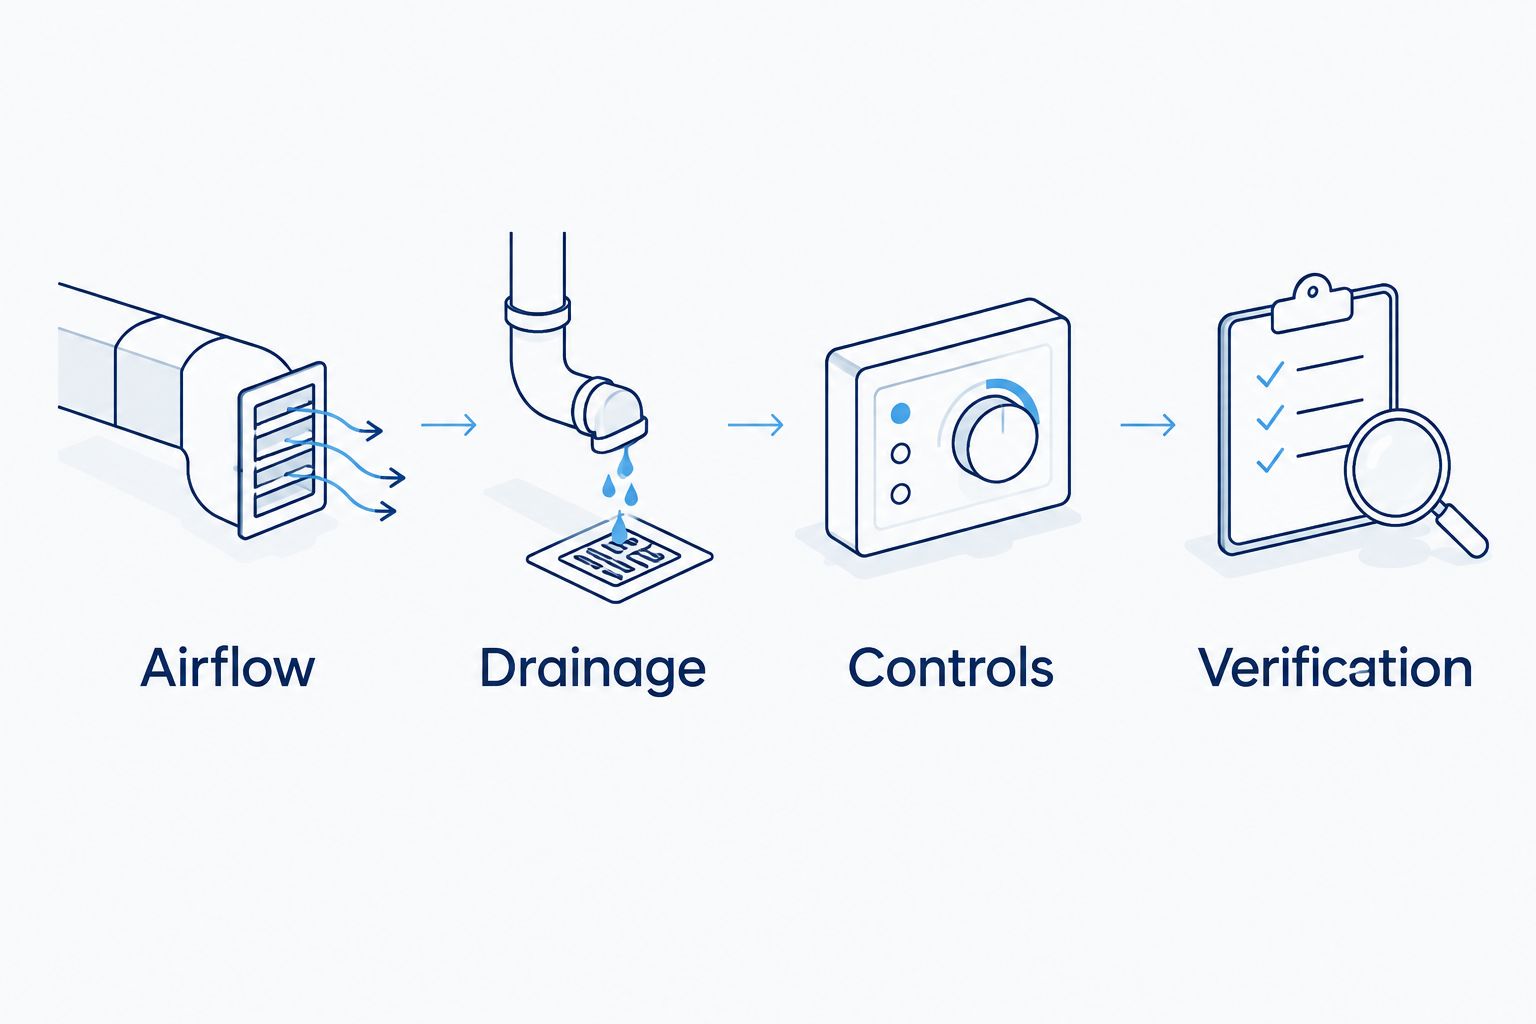
Ask the installer to walk through Airflow, Drainage, Controls, and Verification before handing over the system. These checks address different failure points; a working fan alone does not establish that the installation is complete.
Variant: dehumidification without a cooling call
A whole-home dehumidifier can address moisture when the house doesn't need additional cooling. This is useful during damp, mild weather and for seasonal homes where the thermostat's cooling schedule alone doesn't describe the moisture problem.
Best for: Homes that remain humid despite reaching their temperature setting, after leaks and AC faults have been checked.
The advantage is separate moisture control. The limitation is that the dehumidifier still uses electricity and adds heat indoors. Shared duct arrangements also require the correct blower sequence.
To set up this variant, have the installer:
- Confirm the equipment supports operation without a cooling call.
- Configure the humidity control and any required blower interlock according to the manuals.
- Test distribution with the AC compressor off.
- Confirm the home can drain condensate safely during normal unattended operation.
For seasonal absences in 2026, ask how humidity settings, drain maintenance, and monitoring should work together. A remote humidity reading can reveal a problem, but it cannot clear a blocked drain or repair a duct leak.
Troubleshooting
The dehumidifier runs, but rooms stay damp
Have the installer check actual humidity readings, sensor location, airflow, and duct connections. An intake too close to the discharge can repeatedly treat the same air. Also check for outdoor-air leakage or an ongoing water source.
Air moves backward through the equipment
Ask for a pressure and damper check during AC operation. A shared duct connection can expose the dehumidifier to pressure it wasn't designed to overcome. Correct the layout or approved damper arrangement rather than simply increasing the fan setting.
Water appears near the unit
Stop using equipment that is leaking into the home and arrange a drain inspection. The cause can be a blocked drain, failed pump, incorrect trap arrangement, or condensation on an uninsulated surface. Don't assume every puddle is an overflowing drain pan.
The equipment stops before the house is dry
Check whether the humidity sensor sits near treated discharge air. That location can satisfy the control before the rest of the home reaches its target. The installer should also check protective shutdowns and airflow restrictions.
The AC runs differently after installation
Ask the installer to review the control sequence and duct pressure. Blower operation required for distribution is different from unnecessary continuous fan operation. Changes should follow the equipment instructions, not trial-and-error thermostat adjustments.
Customize your workflow
For your 2026 follow-up, expand the check beyond the new equipment. Review bathroom exhaust, duct leakage, filter access, and humidity differences between rooms. This guide explains how to reduce indoor humidity without overworking your AC.
A.R. Williams Air Conditioning provides AC repair, installation, and maintenance for homeowners. Its technicians explain what they found and lay out the options. For work the company quotes, transparent flat-rate pricing is provided before work starts.
Ask what the assessment includes and which findings support the proposed solution. A useful explanation separates an AC fault, a building-moisture problem, and a need for additional dehumidification.
Discuss your home’s humidity
Review the installation considerations and ask about the right next step for your central AC setup.
FAQ
Can I connect a whole-home dehumidifier to my existing AC ducts?
Yes, if the dehumidifier manufacturer permits the layout and the existing ducts support the required airflow. An installer must verify connection locations, pressure, controls, and drainage before modifying the system.
Should the dehumidifier connect to the return or supply duct?
Use the connection arrangement specified for your equipment, not a universal return-or-supply rule. Some approved layouts use a dedicated intake and discharge into the AC supply; others use separate ducts.
Does the AC fan need to run with a whole-home dehumidifier?
The approved duct layout determines whether the AC fan must run. A shared distribution arrangement can require blower coordination, while a dedicated air path can operate differently.
What humidity should I set for my house?
EPA home-moisture guidance recommends 30% to 50% indoor relative humidity when possible, and below 60%. Follow your equipment instructions and investigate persistent moisture rather than assuming a lower setting fixes the cause.
Why does my dehumidifier blow warm air?
A dehumidifier normally discharges warmer air because moisture removal releases heat and the equipment uses electricity. Ask the installer to evaluate unexpected temperature changes alongside airflow and system operation.
Can a dehumidifier work when the AC isn’t cooling?
Yes, when its equipment and controls support that operation. The installer must confirm how treated air reaches rooms and whether the central blower needs to run.
Will a whole-home dehumidifier fix musty smells?
It can reduce excess airborne moisture, but it does not remove the source of a leak or contaminated material. Persistent odors need an inspection even if the humidity reading improves.
Can I install the duct connections myself?
Have qualified professionals make the duct, drain, electrical, and control connections. As a homeowner, you can review the proposed layout, confirm service access, and ask to see the startup checks.
One last thing
Ask to see the humidity-call test with cooling off. A house can feel comfortable during the installation visit because the AC is running, while the separate moisture-control sequence remains untested.
When you speak with A.R. Williams Air Conditioning, describe whether the house feels damp while cool or damp while warm. That distinction gives the technician a clearer starting point. Request an assessment before deciding which equipment belongs in your home.
Related guides
- Return-air vent sizing for South Florida HVAC systems
- How to tell if you need a dehumidifier or a new AC
- Duct repair and sealing for South Florida homes
