
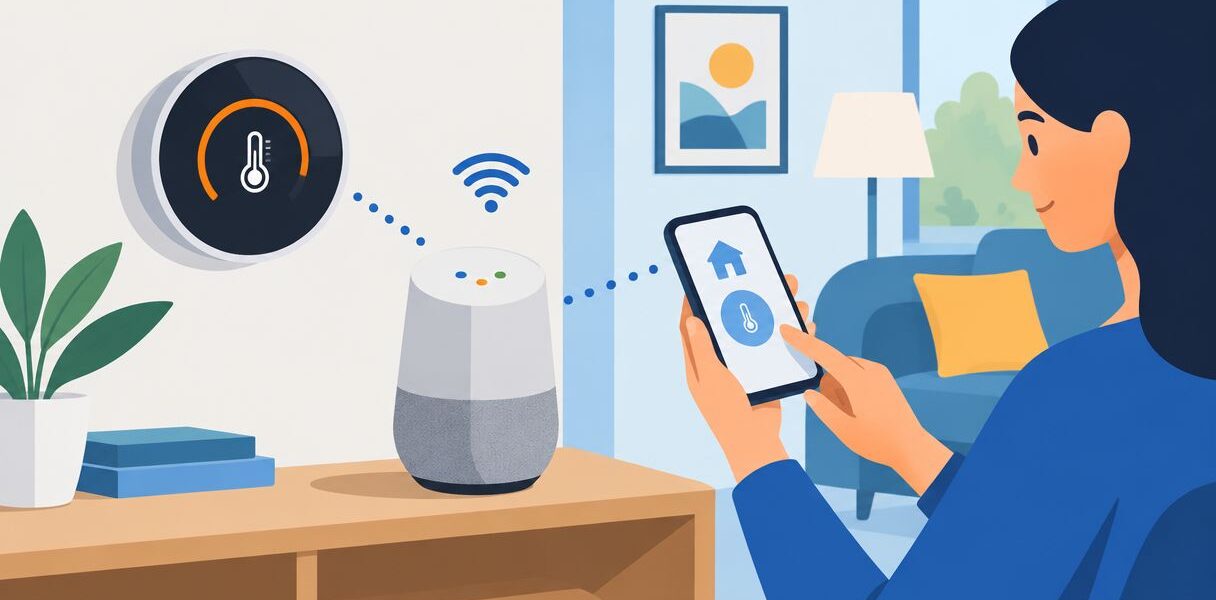
Instead of adjusting your thermostat by hand, connect your smart thermostat to Google Home so you can change the temperature from your phone or a supported voice device. For a compatible thermostat already working in its manufacturer's app, link that account through Works with Google Home, assign the thermostat to a room, and test a temperature change.
- To connect a smart thermostat to Google Home, confirm model compatibility and link the correct manufacturer account.
- Google Home adds convenient controls; it does not fix wiring, airflow, or humidity problems.
- Set up supported Nest thermostats through their model-specific Google Home or Nest instructions.
- A.R. Williams Air Conditioning provides AC repair for South Florida homeowners who need cooling problems explained.
Why this matters
A connected thermostat lets you adjust cooling without walking to the wall control. It also gives you another way to check the setting when you're away, provided the thermostat and its connection are working.
That convenience matters in a seasonal home, but temperature control and humidity control are different jobs. Before choosing new hardware, review thermostats for South Florida humidity control and confirm what your central AC actually supports.
Connecting Google Home changes how you control the thermostat, not what your AC can do. A damp room, weak airflow, or an upstairs bedroom that stays warm still needs its own diagnosis.
For your 2026 setup, start with the exact thermostat model. A brand name alone does not establish compatibility, and a Wi-Fi thermostat is not automatically a Google Home-compatible thermostat.
Before you start
Have these ready before opening the connection menu:
- Working thermostat access: The thermostat must already control your AC correctly. For a third-party account connection, confirm that you can change its setting in the manufacturer's app.
- Account and network access: Have the Google Home app, permission to add devices to the intended home, and the thermostat account login. Follow your thermostat's own Wi-Fi requirements, including any stated 2.4 GHz requirement.
- The account ownership check: Link the account that actually owns or has supported access to the thermostat. A different email address, an old installer account, or the wrong Google home can leave the device missing after a successful login.
Do not remove the thermostat from the wall to solve an app-linking problem. This guide covers an installed thermostat, not electrical connections. If installation is incomplete or cooling stopped after a thermostat change, have the wiring and equipment configuration checked first.
Keep the thermostat's model information handy. You will need it if its setup instructions point to a different app or pairing method.
Choose your connection route
There are two common account-based routes. Use the route specified for your model rather than trying every option in Google Home.
| Connection route | Best for | Advantage | Limitation |
|---|---|---|---|
| Works with Google Home | A compatible third-party thermostat already working in its manufacturer's app | Adds supported thermostat controls without reinstalling the device | Requires the correct account and an active manufacturer integration |
| Model-specific Google Home or Nest setup | A supported Google Nest thermostat | Uses the setup process intended for that Nest model | Different Nest models use different initial setup paths and account requirements |
Neither route guarantees that every manufacturer feature appears in Google Home. Specialized settings, detailed schedules, and equipment configuration can remain in the original app or on the thermostat.
For a 2026 installation, check the manufacturer's current compatibility instructions before replacing a working thermostat. Keep the existing control until compatibility with both your AC and Google Home is confirmed.
Configure the manufacturer connection
Confirm thermostat control
- Open the thermostat manufacturer's app and select the installed thermostat.
- Check that its reported room temperature and operating mode make sense.
- Make a small test adjustment, such as changing the cooling setpoint by 1°F. This is a connection test, not a recommended household setting.
- Confirm that the new setpoint appears at the wall thermostat, then restore your preferred setting.
Expected result: The manufacturer's app and wall thermostat show the same requested temperature. If they do not, resolve that connection before adding Google Home.
A thermostat showing a new setpoint does not prove the AC has started cooling. Equipment protection can delay a restart, and a cooling request depends on the room temperature and operating mode. Do not keep changing settings to force the compressor to start.
Check whether the thermostat appears under the account you plan to link. If another household member installed it, use the manufacturer's supported sharing or ownership process instead of exchanging passwords.
This first test separates two problems that look similar: a thermostat that is offline and a thermostat that is online but not controlling cooling correctly. Google Home cannot repair either problem simply by linking the account again.
Link the account
- Open Google Home and select the home that should contain the thermostat.
- Open the add-device flow. In the Devices layout, tap Add, then select Works with Google Home for a third-party account connection.
- Search for the service name specified in your thermostat's connection instructions. The service name is not always identical to the name printed on the thermostat.
- Sign in to the account you verified in the manufacturer's app. Complete any authentication request and approve the requested connection permissions after reviewing them.
- Follow the prompts to select the discovered thermostat and add it to the intended home.
Expected result: Google Home displays a thermostat device with temperature controls. A successful account login without a thermostat tile is not a completed connection.
Google Home's screen layout changes between releases. For your 2026 app version, use the account-linking option labeled Works with Google Home, rather than choosing a nearby-device setup method unless the thermostat instructions specifically require it.
If your manufacturer is absent from the service list, stop and check the exact model's support documentation. Repeated login attempts will not create an unsupported integration. Do not choose a similarly named service just to continue.
Set the room and name
- Open the thermostat device in Google Home and open Settings.
- Use Name to give it a clear, distinct name, such as Downstairs Thermostat.
- Use Room to assign it to the area it controls.
- Repeat the naming check for other thermostats, if your home has more than one central AC system.
Expected result: Each thermostat has an identifiable name and belongs to the correct home and room.
The room assignment organizes the device. It does not change which rooms the equipment cools, create a new AC zone, or make the thermostat measure temperature somewhere else.
Use names that describe the actual system. Downstairs Thermostat and Upstairs Thermostat are easier to distinguish than two devices both called AC. If a thermostat controls the whole house, avoid naming it after a bedroom that has no separate temperature control.
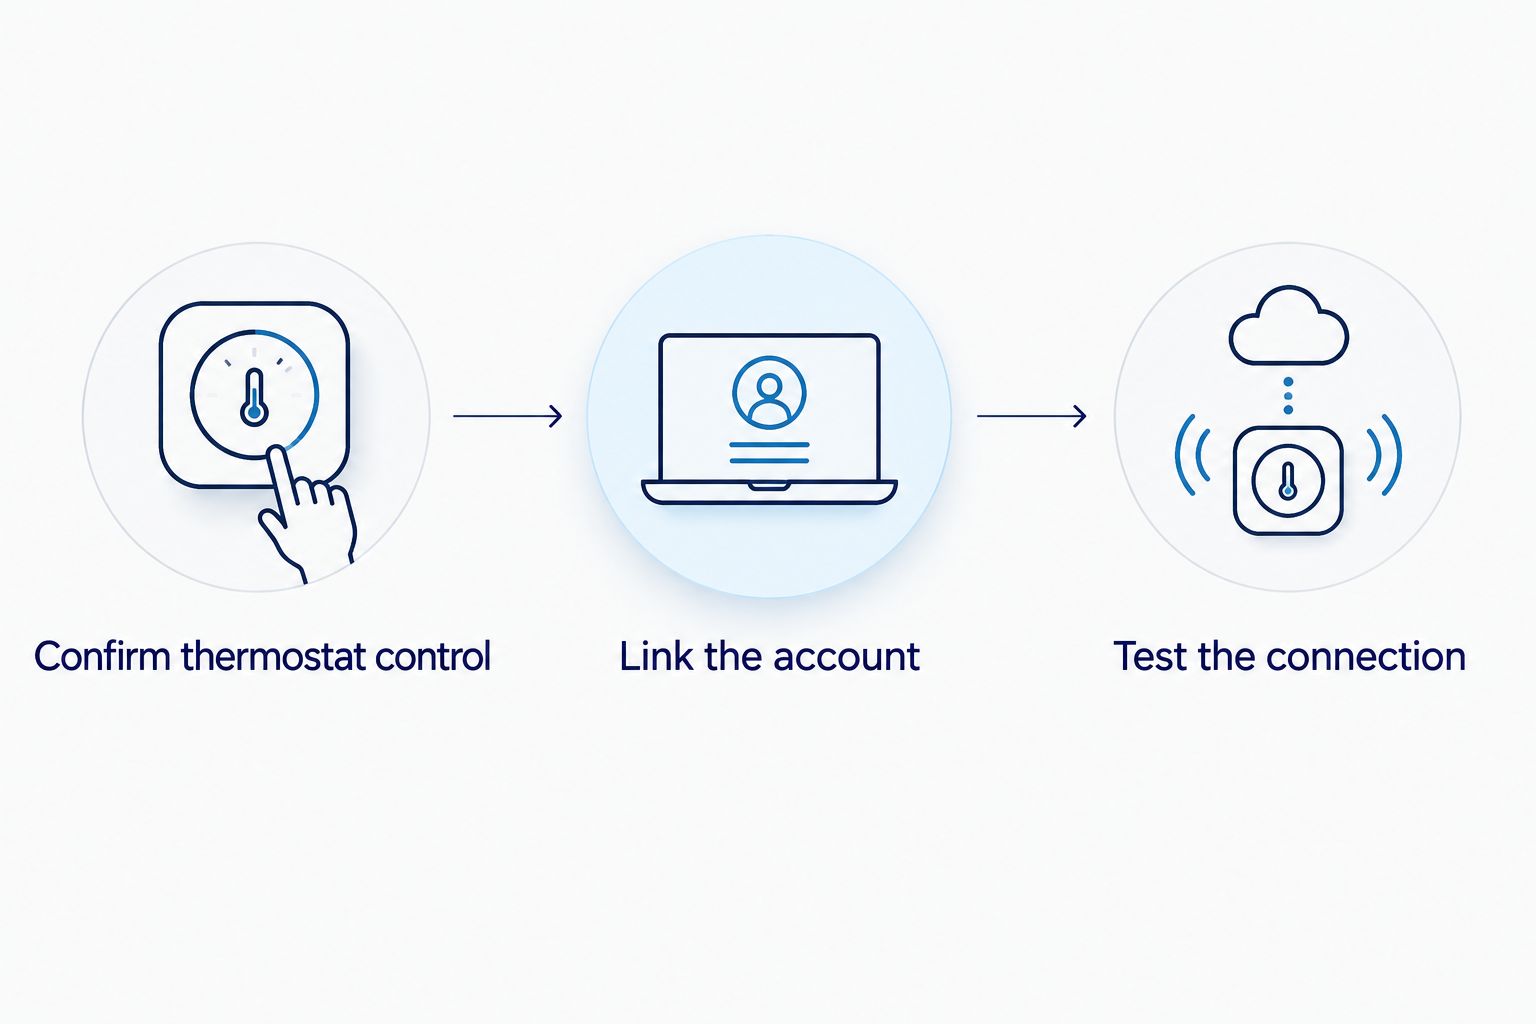
Test the connection
- Open the thermostat tile in Google Home and compare its setpoint with the manufacturer's app.
- Change the setpoint by 1°F, then check the wall thermostat for the same change.
- If you use a supported voice device, try a specific command such as "Set Downstairs Thermostat to 76 degrees." The 76°F setting is an example, not a comfort or humidity prescription.
- Restore your preferred temperature and confirm that the operating mode remains correct.
Expected result: Google Home, the manufacturer's app, and the wall thermostat agree on the requested setting. Your voice command targets the intended thermostat.
Test app control before voice control. If the tile works but a spoken request does not, the problem is narrower than a failed thermostat connection. Check the device name and the home associated with the voice device.
One verified adjustment is more useful than repeated commands. Watch the actual thermostat display, not just the confirmation spoken by a voice device.
If cooling no longer responds correctly after a thermostat installation, request a system check. A.R. Williams Air Conditioning provides AC repair and explains the findings and options before work starts. The smart thermostat installation guide covers the equipment side of this decision.
Nest thermostat setup
If you have a Google Nest thermostat, start with its exact model's setup instructions. Do not assume that every Nest thermostat should be linked as a third-party service.
For models set up directly in Google Home, use the app's add-device process and follow the prompts for that thermostat. For models initially configured through the Nest app, check the associated account and supported Google Home connection process before changing anything.
Expected result: The thermostat appears in the correct Google home without a second, unnecessary setup attempt.
Do not factory-reset a working Nest thermostat just because it is missing from Google Home. First check whether you selected a different Google account or home. Resetting adds installation work and can erase settings without addressing the account mismatch.
During a 2026 account review, confirm ownership before changing a seasonal home's setup. The person who installed the thermostat and the person managing the home today are not always the same account holder.
Add a scheduled thermostat action
Once manual control works, a scheduled automation is a useful second workflow. It can request a temperature at a regular time without a daily voice command.
- Open Automations in Google Home and start a new automation using Add.
- Select the available household automation option if the thermostat action requires it, and choose a time-based starter.
- Add a supported thermostat action and select the intended device. Confirm that temperature control is offered for your integration.
- As a test, use a time you can observe, such as 6:00 p.m., and a familiar household setting.
- Save the automation, check its selected days, and observe the first scheduled change.
Expected result: The thermostat receives the requested setpoint at the selected time. If the integration does not offer a thermostat action, use the manufacturer's supported scheduling feature instead.
Choose one primary place for your regular schedule. A manufacturer schedule and a Google Home automation can both change the temperature, which makes an unexpected change harder to trace.
Avoid adding several automations at once. Test one, confirm its behavior, and then expand. For homes left empty between visits, preserve a cooling plan that addresses moisture as well as temperature.
Troubleshooting
The account links, but no thermostat appears
Open the manufacturer's app under that same login and confirm the thermostat is listed. Then check the selected Google home and the model's integration support. Fix ownership or sharing through the manufacturer's process before relinking.
The thermostat shows offline
Check whether it is also offline in the manufacturer's app. If it is, restore the thermostat's network connection according to its instructions. If only Google Home is affected, check the linked service and account authorization before removing the device.
Voice control changes the wrong thermostat
Give each thermostat a distinct name and use that full name in a test command. Check for duplicate device entries and confirm that the voice device belongs to the intended home. Room names alone do not always make an ambiguous request clear.
The temperature changes back later
Check the thermostat's schedule, temporary hold behavior, and Google Home automations. Disable the conflicting action rather than repeatedly overriding the temperature. Also review any energy-management program you knowingly enrolled in.
Google Home accepts the command, but the house stays warm
Confirm the wall thermostat's setpoint and cooling mode. If they are correct, separate the app connection from the cooling problem. Weak airflow, ice, or persistent warm air needs equipment diagnosis, not another account reset.
A.R. Williams Air Conditioning is best for South Florida homeowners who need an AC technician to explain a cooling problem and repair options. App confirmation is not proof of cooling performance.
Customize your workflow
Keep controls simple after the first successful test. Add household access through supported account permissions, keep thermostat names distinct, and document which app owns the schedule.
For your 2026 household settings review, record the thermostat model, its controlling account, and the main schedule location. Store account recovery information securely, not beside the thermostat.
Google Home is useful for everyday adjustments. Keep the manufacturer's app for features the integration does not expose, and leave equipment configuration to someone who understands your central AC.
If the thermostat connection works but comfort does not improve, talk with a technician. A.R. Williams Air Conditioning explains what was found and lays out repair options, so you can choose the next step without treating a new thermostat as the automatic answer.
FAQ
Can I connect any smart thermostat to Google Home?
No. Your exact thermostat model needs a supported Google Home connection method. Wi-Fi access alone does not establish compatibility.
Do I need a Google speaker to connect my thermostat?
No. You can connect and control a supported thermostat through the Google Home app without a speaker. Voice control needs a supported voice device or interface.
Why does Google Home link my account but not find my thermostat?
The linked account must contain the thermostat and support its integration. Check account ownership, the selected Google home, and the exact model’s compatibility.
Should I use Google Home or the manufacturer’s thermostat schedule?
Use one primary schedule location to avoid conflicting temperature changes. Keep other automations limited to actions that do not compete with that schedule.
Will connecting Google Home help my AC remove more humidity?
Account linking does not add dehumidification capability. Moisture control depends on the thermostat’s supported features, equipment operation, and the home’s conditions.
Why does my AC not start immediately after a Google Home command?
A setpoint change does not always require immediate cooling, and equipment protection can delay a restart. Confirm the wall thermostat’s mode and setting instead of repeatedly issuing commands.
Do I need to change thermostat wiring to add Google Home?
No wiring change is required merely to link an already installed, compatible thermostat account. If you are replacing the thermostat itself, compatibility and wiring require a separate assessment.
One last thing
Test the connection before you leave the house, not after you need it. Make a small adjustment from Google Home, confirm it at the wall, and restore your normal setting. That simple check separates a working control link from a reassuring app message.
Related guides
- Smart home integrations for Florida AC
- Connect a smart thermostat to Amazon Alexa
- Reduce indoor humidity without overworking your AC
